
DIY - How to decoupage a flower container
Here is an easy and fun project that can be done in just a couple of hours.
Here's what you'll need:
-
Elmer's Glue (watered down)
-
Paint Brush
-
Satin Varnish/Polyurethane
-
Antiquing Glaze (optional)
-
Planter
-
Plant
-
Paper to tear
-
Paint (optional)

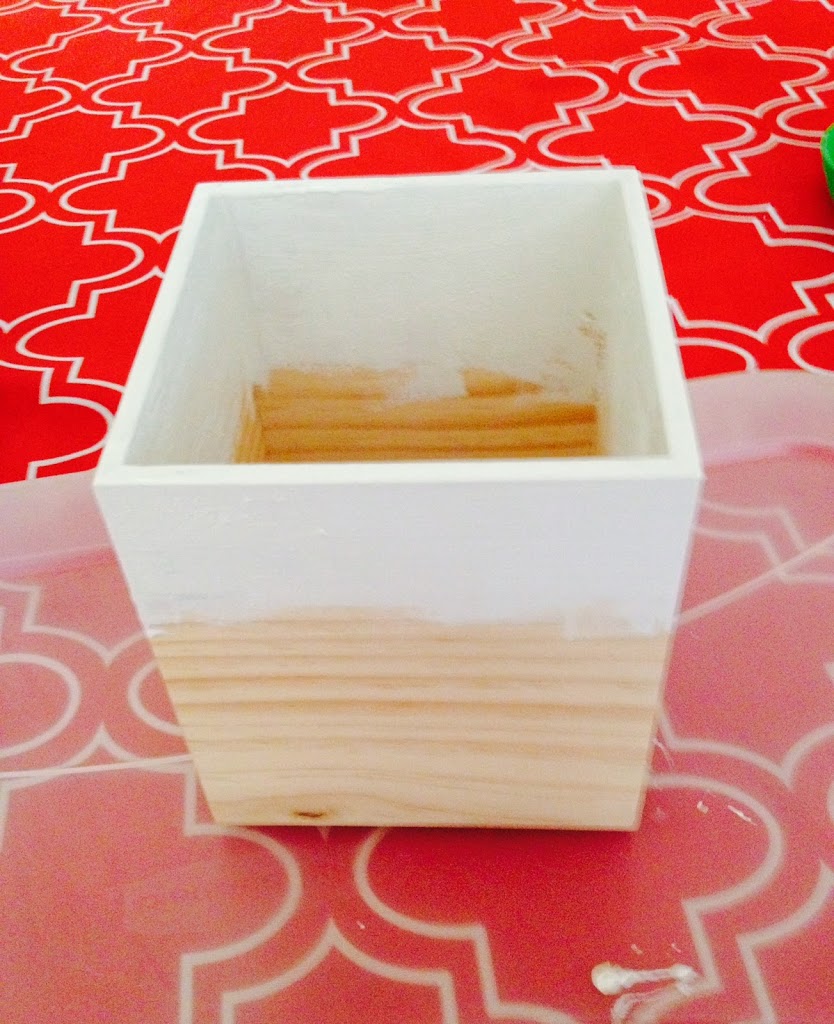
I bought the plant and planter at Joanns. The planter is actually a tissue box holder (turned upside down).
First things first...tear your papers. Make sure your paper is printed on a laser printer if you are printing it yourself. Otherwise, the ink will run when you add the glue. The Graphics Fairy is a great source for vintage images and many of my images came from there.

Next I painted the top of the box an off white - just incase I didn't get everything covered with paper. This step is optional.
Next start applying the torn paper using your watered down Elmer's Glue. Brush glue under AND over the paper.
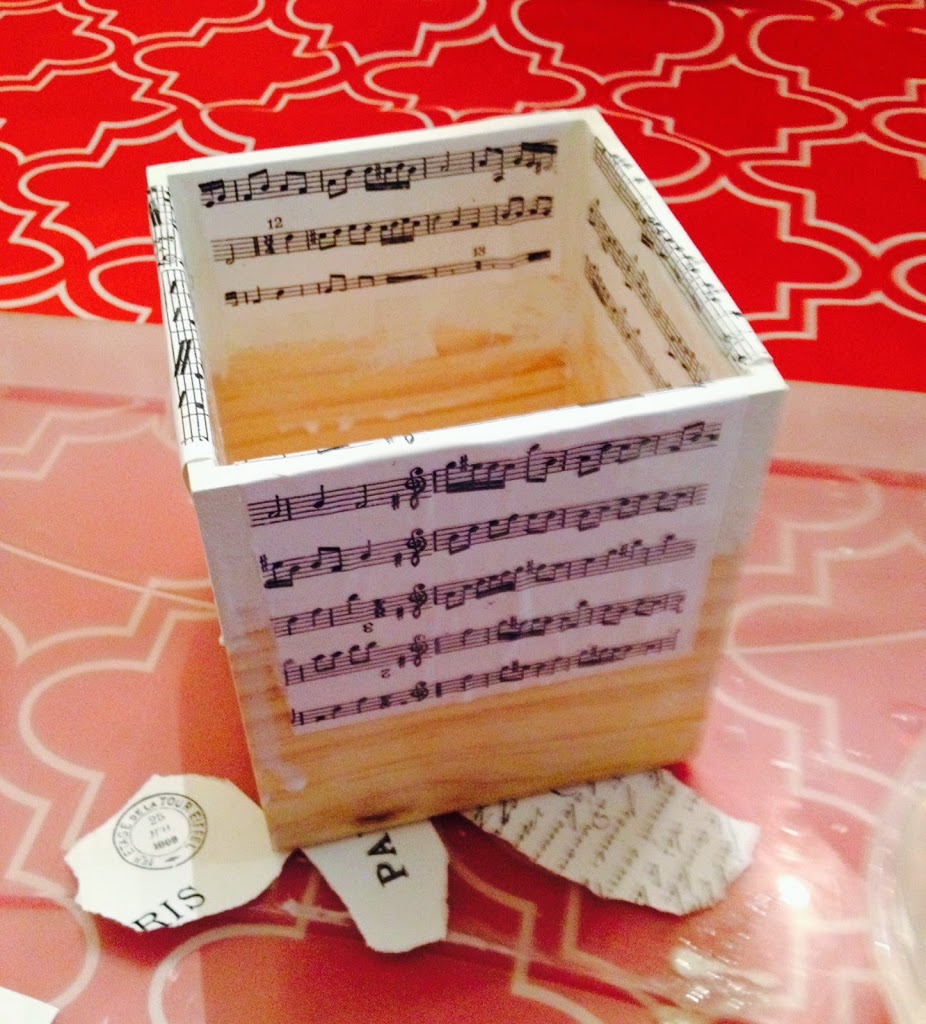
Let it dry. You can speed up the process with a hairdryer if you wish.
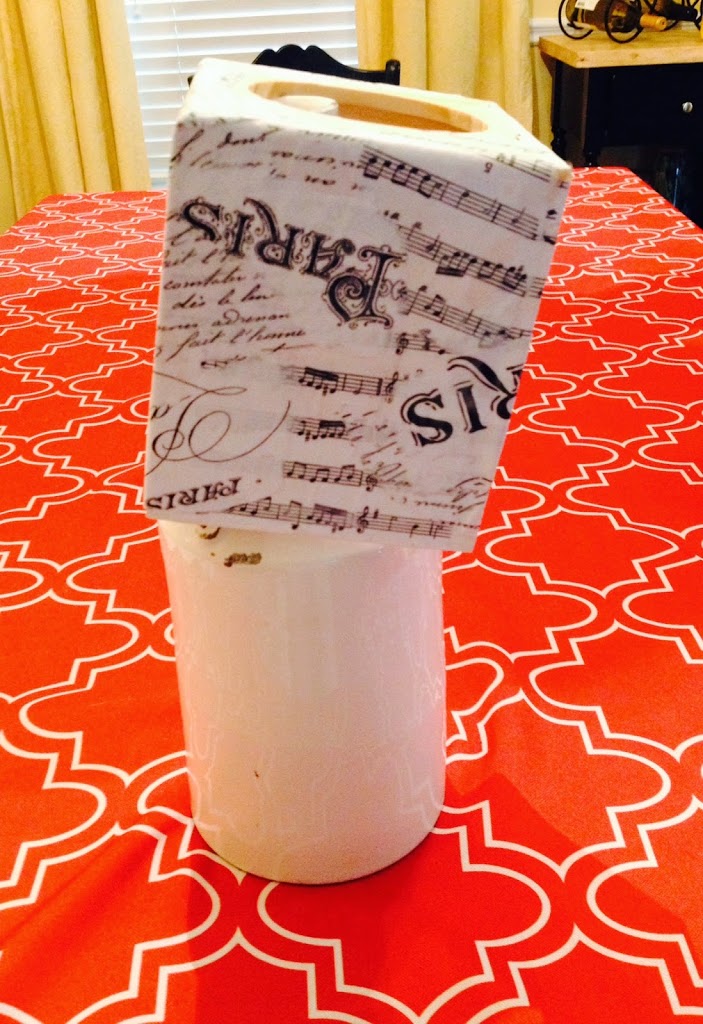
After it is totally dry, brush on some satin varnish. You can also spray it on if you wish. Let dry again.

If you prefer an aged look, brush on some antiquing glaze after the varnish has totally dried. Use a damp cloth to remove some of the glaze. You don't want the glaze to be applied evenly. The goal is to make it look old.
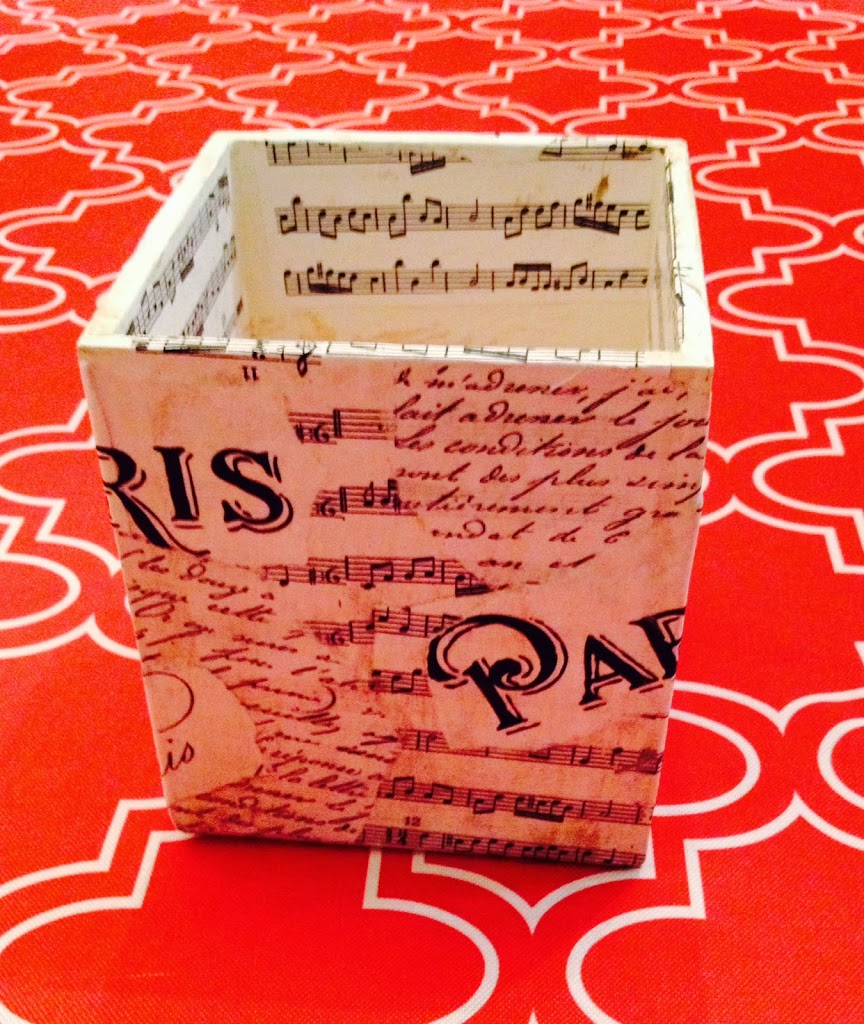

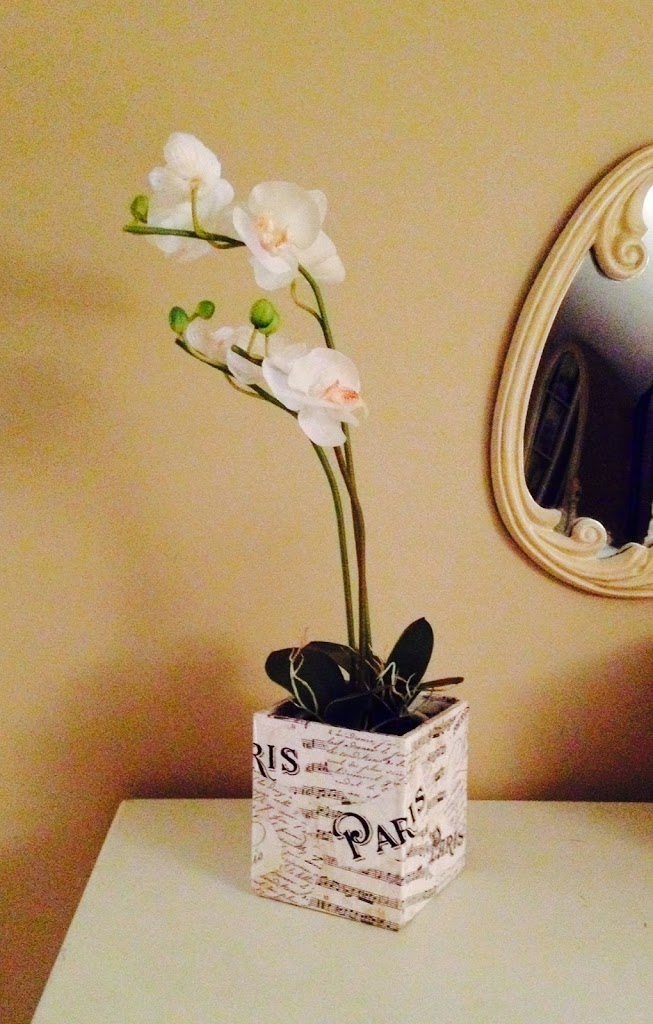
And voila, the finished product!

Imagine what a nice gift this would make. I'm going to make more for sure. Let me know what you think.
Thanks for stopping by...
Until next time,
