
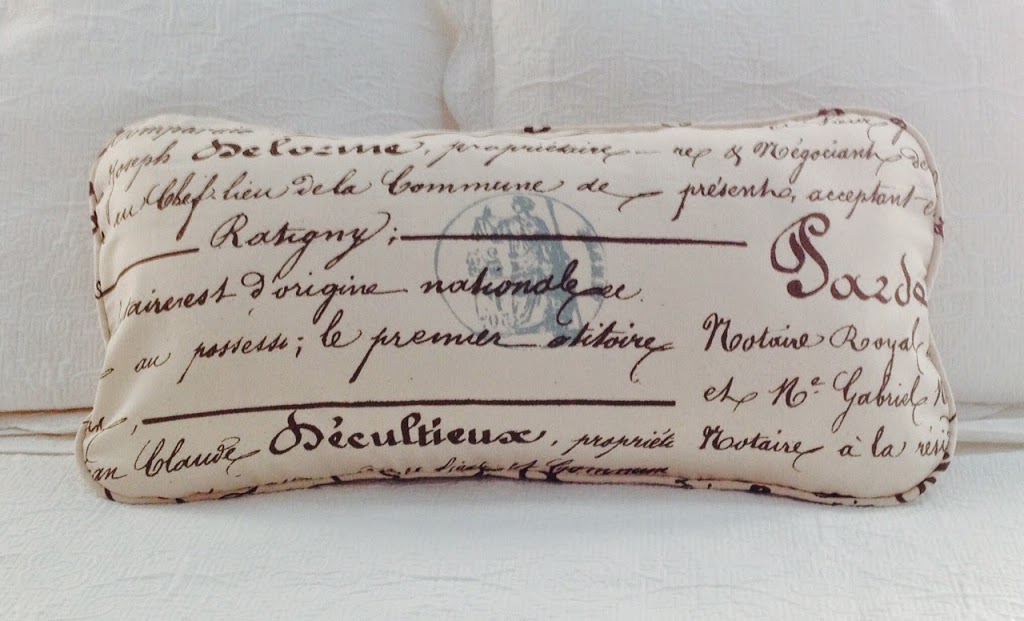
DIY - How to Sew a Designer Pillow using Welt Cord
If you have a sewing machine and a zipper foot, you can make a designer pillow with welt cord. In this tutorial, I am going to show you step-by-step how easy it is to make this pillow.
Here is what you will need:
Fabric - I used leftover fabric, buy about 1 yard if you are buying new.
Pillow form - Mine is 14 x 28 and I purchased at Joanns for 50% off.

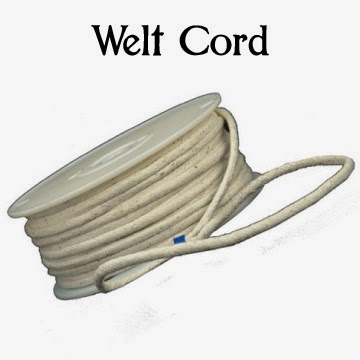
Cording - also called piping and welt cord; you can buy this by the yard or packaged.
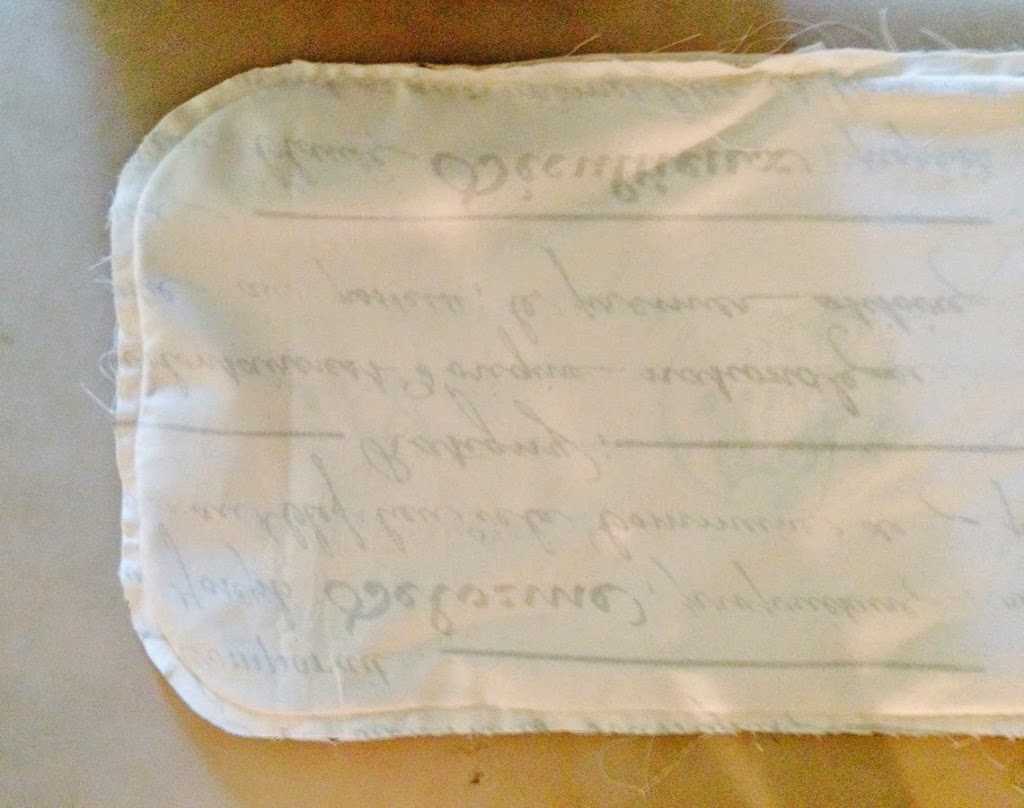
You have all your supplies, what next? First thing you do is to cut out your pillow. Add 1 inch to the size of your pillow form. Since mine was 14 x 28, I cut my fabric to 15 x 29. This allows for a half inch seam allowance all the way around.
I like my corners rounded so I trimmed them using a circle pattern. You can also use a kitchen plate. Here's a tip: Rounding your corners makes it easier to apply cording!

Next cut out your strips for welt cord. It is important to cut these strips on the bias. What's that, you wonder? That means that you cut your strips diagonally. You'll have several strips so make sure you sew them together. Measure around your pillow so you have enough.

OK, now what? Attach your zipper foot to your sewing machine. They're not just for attaching zippers! If you pin your fabric around your cord, it will be much easier to control.

Another option is to sew the cording into the seam allowance. When you finish up, as you approach the starting point, place the ending of the cording over the starting point and dip it into the seam allowance. This allows for a continuous visual line of piping on the outside of the seam allowance.
With a little practice, you can get it!

Trim any loose threads, snip corners if needed and turn inside out. Press.
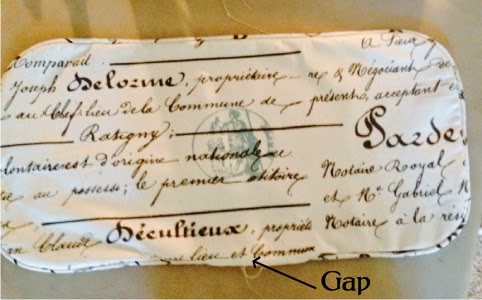
Stuff with your pillow form and sew the gap shut by hand. There you have it - a beautiful designer pillow. I made this one for my daughter. Here it is on her bed.

