DIY Window Treatments - How to Sew Inverted Pleated Drapery from Dropcloths
I just finished my first canvas dropcloth project - drapery with inverted pleats or reverse pleats. Inverted pleated window treatments work in both contemporary or traditional interiors. I just finished my window treatments using canvas dropcloths. I started with this:

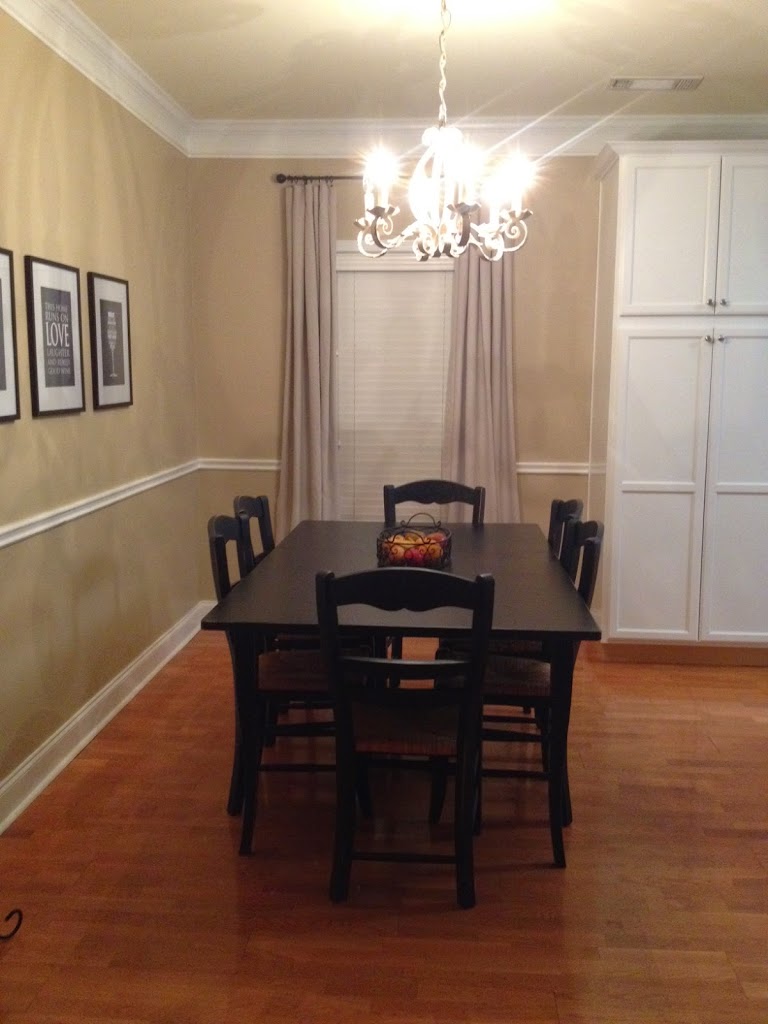
And this is the finished product. What do you think?
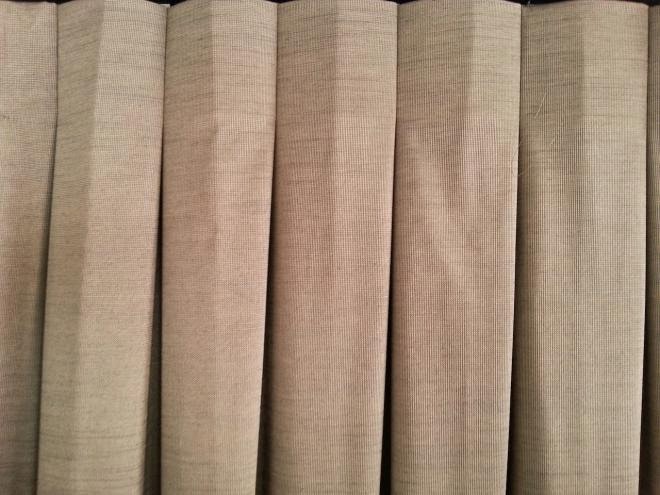

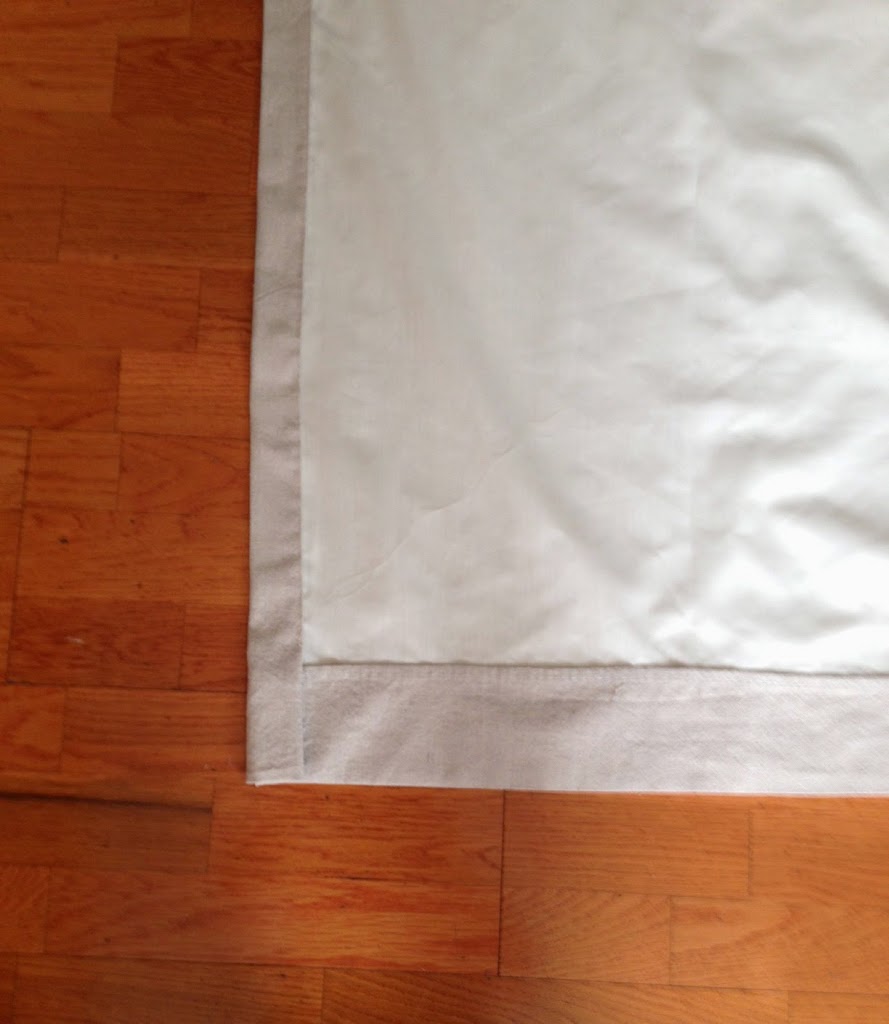

I decided on 5 pleats which means I would need a total of 7 rings. I spaced the pleats about 5 inches apart. This is the tricky part. It takes a bit of math. My pleats were about 4.5 inches each. Mark the pleats and space placement on the lining. Fold the curtain, right sides together. Sew. Then press open. Remember these are inverted pleats so they go to the back of the finished window treatment.
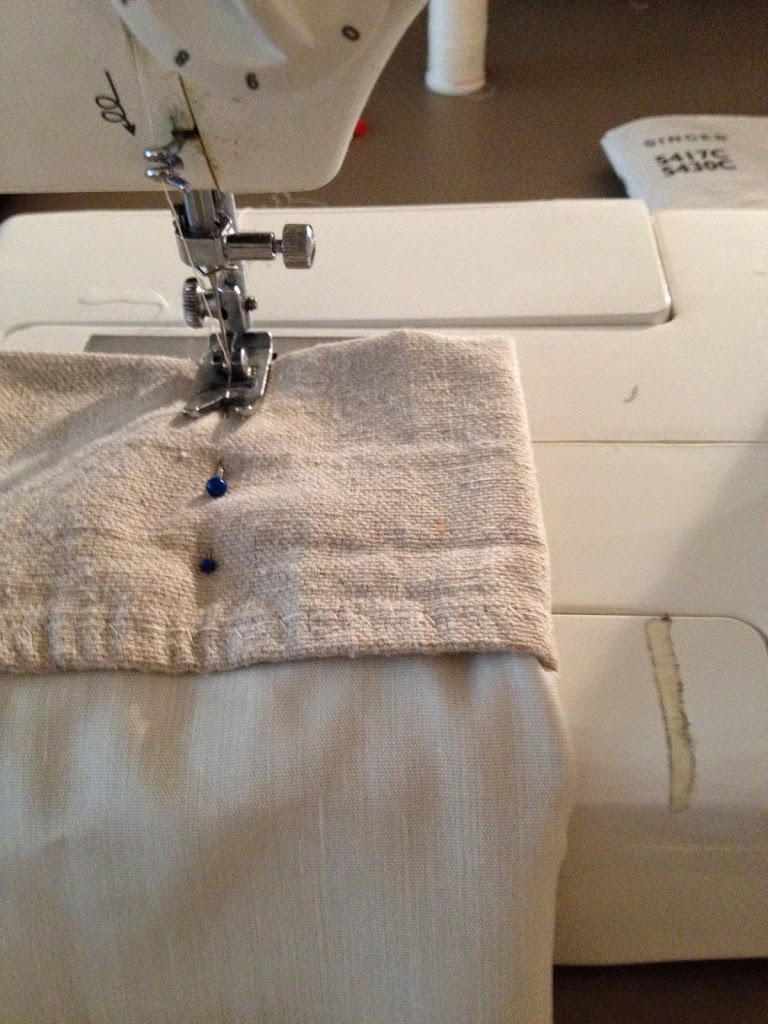
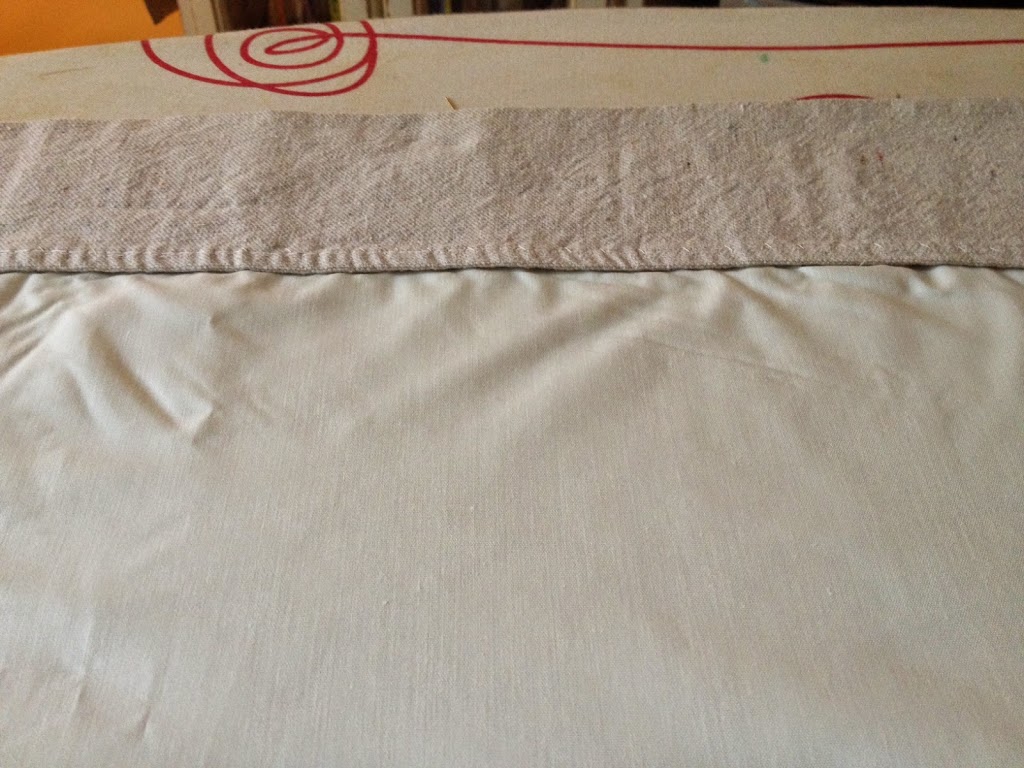
Next step is to "stitch in the ditch" as pictured below. This will make sure that your pleats stay in place.

That's basically it! My finished window treatments look great. You would never know they started as canvas dropcloths. We have 3 windows and my total cost was less than $150. It helps when you can get your lining on sale.
When using canvas dropcloths, just make sure you wash the dropcloths before sewing to remove any sizing and get rid of some of the stiffness. I washed mine twice. Take them out of the dryer right away or you'll be slaving over the iron!
For more ideas on using canvas, check out my previous blog, Decorating with Dropcloths, for some additional ideas.I've already purchased more dropcloth to make additional window treatments, table runner, and shower curtain. Once I find something I like, I tend to go a bit overboard! Canvas is a great fabric. The look is awesome!
Thanks for stopping by,
Until next time...